
First things first… Know thy Canine. Check and see if your dog is or is not a good candidate to crate. How to go about finding this out is first observe what kind of personality does your dog have? Is he/she friendly and outgoing? Confident? Shy? Anxious/fearful?
Once you know their personality proceed with an introduction to the crate. Before I go any further I must say NEVER USE A PETS CRATE FOR PUNISHMENT. This will put a negative experience around and involving the crate. (If you are interested in learning how to give your pets a proper, humane timeout email and I will show you how) Your pets crate should ALWAYS be a welcoming, safe space for them to chill and relax and have some alone time.
Also if you start to introduce to introduce your pet to their crate and you notice severe shaking or crying DO NOT FORCE THEM to engage with the crate. To force would be a form of bullying and further increase their anxiety & fear and it may be possible your pet is not a good candidate for crate training. If you witness this STOP and try again the next day and if the same thing occurs do not proceed making them engage with the crate.
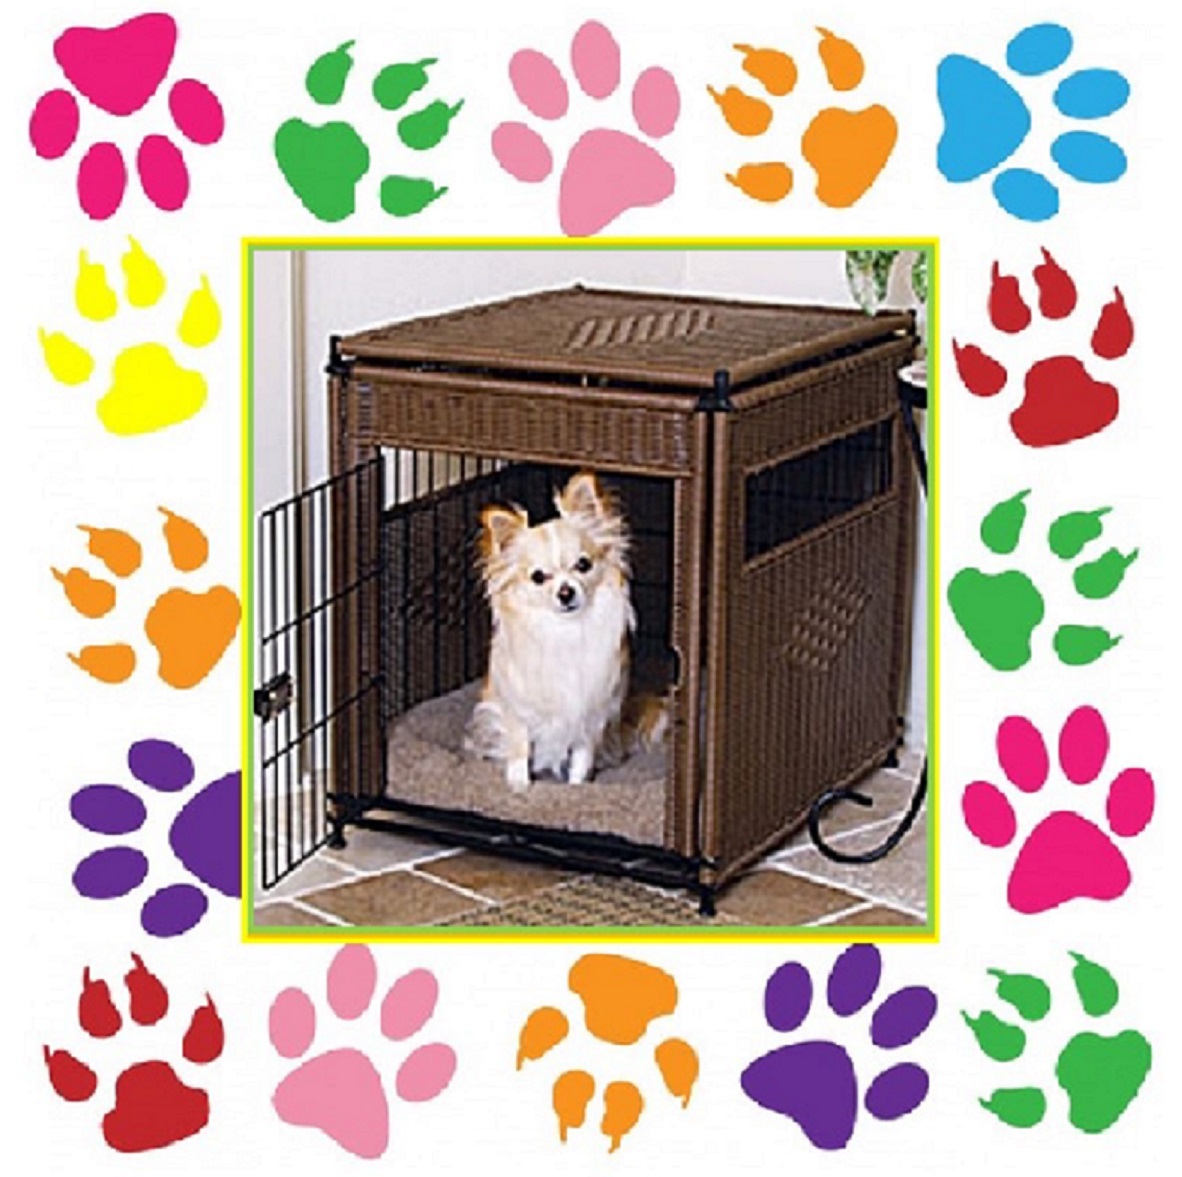
CRATES TO CHOOSE FROM
- Plastic (often called “flight kennels”)
- Fabric on a collapsible, rigid frame
- Collapsible, metal pens
Creating the environment for your pet & the crate
Once you have decided which crate will best fit your furry family member, pick the spot where the crate will be placed. Ideally your pets crate should be in a quiet space or room away from chaos. Also the room should be dimly lit… not dark to help create a peaceful environment.
I also would strongly recommend having music playing SOFTLY in the background on a low volume. Only choose from SMOOTH JAZZ OR LIGHT CLASSICAL. Remember your pets ears are more sensitive than humans and certain instruments of other types of music create anxiety and are harmful to your pets ears.
Once you have set the environment above for your pet make sure to have a comfy bed & blankets inside of the crate. Also have your pets favorite toys inside of the crate, with one of their chew treats they love. Now you’re ready to train…
How to CRATE TRAIN your pets
Crate training can take days or weeks, depending on your dog’s age, temperament and past experiences. It’s important to keep two things in mind while crate training: The crate should always be associated with something pleasant and training should take place in a series of small steps. Do not go too fast.
Step 1: Introduce your dog to the crate
Place the crate in an area of your house where the family spends a lot of time, such as the family room. Put a soft blanket or towel in the crate. Take the door off and let the dog explore the crate at their leisure. Some dogs will be naturally curious and start sleeping in the crate right away. If yours isn’t one of them:
- Bring them over to the crate and talk to them in a happy tone of voice. Make sure the crate door is open and secured so that it won’t hit your dog and frighten them. Also have soft music playing in the background to help them relax.
- Encourage your dog to enter the crate by dropping some small food treats nearby, then just inside the door, and finally, all the way inside the crate. If they refuse to go all the way in at first, that’s OK; don’t force them to enter.
- Continue tossing treats into the crate until your dog will walk calmly all the way into the crate to get the food. If they aren’t interested in treats, try tossing a favorite toy in the crate. This step may take a few minutes or as long as several days. Please take your time & be PATIENT.
Step 2: Feed your dog meals in the crate
After introducing your dog to the crate, begin feeding them their regular meals near the crate. This will create a pleasant association with the crate.
- If your dog is readily entering the crate when you begin Step 2, place the food dish all the way at the back of the crate.
- If they remain reluctant to enter, put the dish only as far inside as they will readily go without becoming fearful or anxious. Each time you feed them, place the dish a little further back in the crate.
- Once your dog is standing comfortably in the crate to eat their meal, you can close the door while they’re eating. The first time you do this, open the door as soon as they finish their meal. With each successive feeding, leave the door closed a few minutes longer, until they’re staying in the crate for 10 minutes or so after eating.
- If they begin to whine to be let out, you may have increased the length of time too quickly. Next time, try leaving them in the crate for a shorter time period. If they do whine or cry in the crate, don’t let them out until they stop. Otherwise, they’ll learn that the way to get out of the crate is to whine, so they’ll keep doing it.
Step 3: Practice with longer crating periods
After your dog is eating their regular meals in the crate with no sign of fear or anxiety, you can confine them there for short time periods while you’re home.
- Call them over to the crate and give them a treat.
- Give them a command to enter, such as “kennel.” Encourage them by pointing to the inside of the crate with a treat in your hand.
- After your dog enters the crate, praise them, give them the treat, and close the door.
- Sit quietly near the crate for five to ten minutes, and then go into another room for a few minutes. Return, sit quietly again for a short time, and then let them out of the crate.
- Repeat this process several times a day, gradually increasing the length of time you leave them in the crate and the length of time you’re out of sight.
- Once your dog will stay quietly in the crate for about 30 minutes with you mostly out of sight, you can begin leaving them crated when you’re gone for short time periods and/or letting them sleep there at night. This may take several days or weeks.
Step 4, Part A: Crate your dog when you leave
After your dog can spend about 30 minutes in the crate without becoming anxious or afraid, you can begin leaving them crated for short periods when you leave the house.
- Put them in the crate using your regular command and a treat. You might also want to leave them with a few of their favorite, safe toys in the crate.
- Vary the moment during your “getting ready to leave” routine that you put your dog in the crate. Although they shouldn’t be crated for a long time before you leave, you can crate them anywhere from five to 20 minutes prior to leaving.
- Don’t make your departures emotional and prolonged—they should be matter-of-fact. Praise your dog briefly, give them a treat for entering the crate, and then leave quietly. Do not excessively baby .talk to them
When you return home, don’t reward your dog for excited behavior by responding to them in an enthusiastic way. Keep arrivals low-key to avoid increasing their anxiety over when you will return. Once they have relaxed and calmed down them give affection. Continue to crate your dog for short periods from time to time when you’re home so they doesn’t associate crating with being left alone.
Step 4, Part B: If you want to Crate your dog at night
Put your dog in the crate using your regular command and a treat. Initially, it may be a good idea to put the crate in your bedroom or nearby in a hallway, especially if you have a puppy. Puppies often need to go outside to eliminate during the night, and you’ll want to be able to hear your puppy when they whine to be let outside. Older dogs, too, should initially be kept nearby so they don’t associate the crate with social isolation.
Once your dog is sleeping comfortably through the night with the crate near you, you can begin to gradually move it to the location you prefer, although time spent with your dog—even sleep time—is a chance to strengthen the bond between you and your pet.
Once your dog is sleeping comfortably through the night with his crate near you, you can begin to gradually move it to the location you prefer, although I strongly believe time spent with your dog—even sleep time—is a chance to strengthen the bond between you and your pet.
Potential problems
Whining. If your dog whines or cries while in the crate at night, it may be difficult to decide whether they’re whining to be let out of the crate, or whether they need to be let outside to eliminate. If you’ve followed the training procedures outlined above, then your dog hasn’t been rewarded for whining in the past by being released from their crate. If that is the case, try to ignore the whining. If your dog is just testing you, they’ll probably stop whining soon. Yelling at them or pounding on the crate will only make things worse & it’s being MEAN so please don’t.
If the whining continues after you’ve ignored them for several minutes, use the phrase they associate with going outside to eliminate. If they respond and become excited, take them outside. This should be a trip with a purpose, not play time. If you’re convinced that your dog doesn’t need to eliminate, the best response is to ignore them until they stop whining. Don’t give in; if you do, you’ll teach your dog to whine loud and long to get what they want. If you’ve progressed gradually through the training steps and haven’t done too much too fast, you’ll be less likely to encounter this problem. If the problem becomes unmanageable, you may need to start the crate training process over again, or your dog may not be a good candidate for crate training.
Separation anxiety. Attempting to use the crate as a remedy for separation anxiety won’t solve the problem. A crate may prevent your dog from being destructive, but they may get injured in an attempt to escape. Separation anxiety problems can only be resolved with counterconditioning and desensitization procedures. Please contact me A.S.A.P. because this is one of my specialties (310) 743-9643.
Remember Pets Rule!